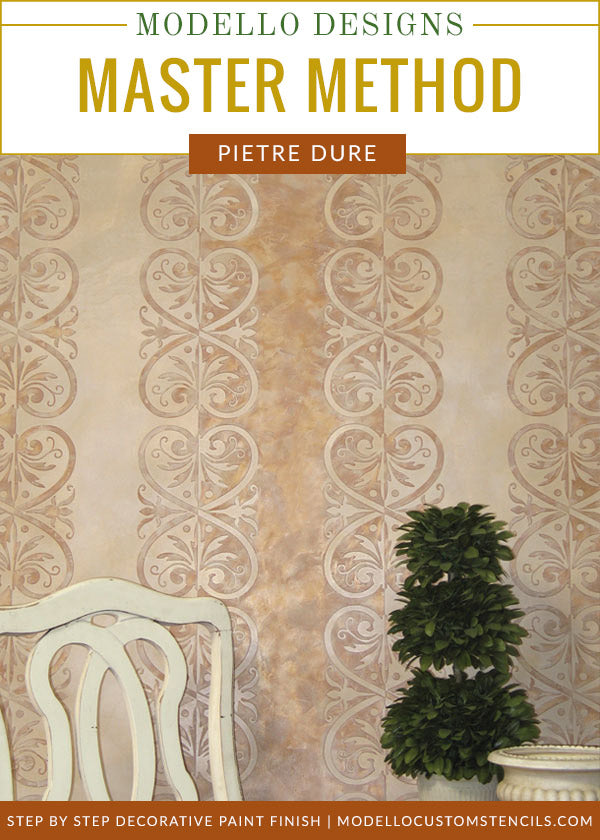
Faux Stone Plaster Wall Treatment
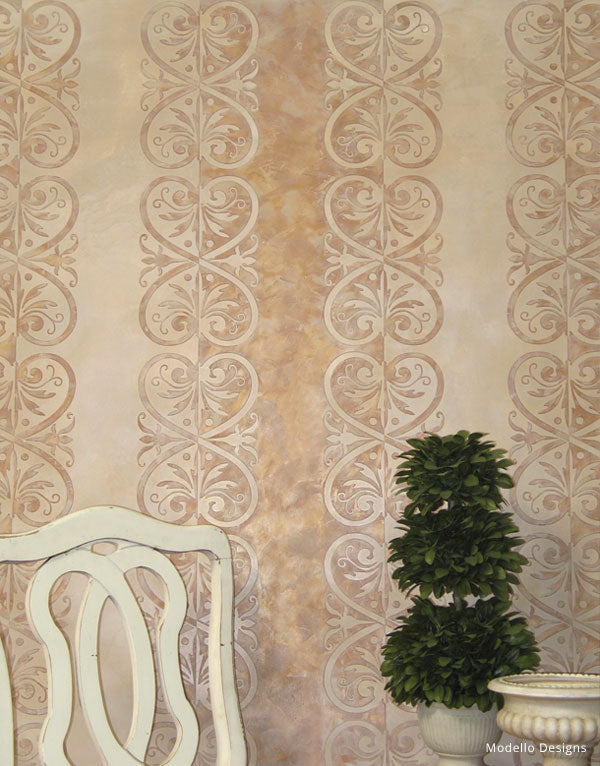
Create the look of inlaid stone or marble designs easily with a Modello Custom Stencil and quick layers of metallic. This example uses Lusterstonetm in three colors with one of our Transitional Border Stencil patterns, but you could also substitute many different designs or plasters, and use painted effects as well.
Faux Effects International® Products: Order via our Affiliate Link Here
- Lusterstonetm Colors: Chantilly Lace, Antique Parchment, Brown Suede
Tools: Order via Royal Design Studio Here
- Liburontm Wax: Neutral
- Pavan Venetian Trowel
- Japan Scrapers
- 400-grit wet/dry sandpaper
- Cheesecloth
Preparation: Begin by applying two thin coats of Chantilly Lace Lusterstone to the surface, allowing each coat to dry completely. In this case, the first coat was a smooth trowel coat and the second coat was used to add a very thin, very light texture coat. Each coat of Lusterstone used in this project is “hard-burnished” with the trowel before adding the next layer. This compresses and hardens the material and brings out more shine.

Step 1: Over the two base coats of Chantilly Lace, trowel on a thin layer of Antique Parchment Lusterstone. This layer should both fill the previous layer and add additional light skip-trowel texture.

Step 2: Thin Chantilly Lace Lusterstone about 10% with water and apply a final thinly troweled layer over the entire surface. Allow to dry and burnish with the trowel. Apply the Modello® Stencil Pattern to the surface, following the basic Modello® application method. Burnish the stencil pattern to the surface with a squeegee or plastic taping knife to ensure a good seal.

Step 3: Use a small Japan Scraper to apply the Brown Suede through the Modello in short, random strokes. This is referred to as “blading” and should be done quickly and without much effort to create a “pattern”. Don’t overload your blade, as very little material is used in these thin layers.

Step 4: This close-up photo shows the amount of Brown Suede that has been applied, about 80% coverage. Notice how this layer of Lusterstone interacting with the slightly textured layer below it. Allow this layer to dry before proceeding to preserve the integrity of the pattern and color. A hair dryer can be used to speed up the drying time.

Step 5: Next, “blade” on a layer of Antique Parchment using the same quick, short strokes as above and very little material on the blade. The goal is to fill in the around the slight texture that was established in the last layer and to create additional texture and interest. “Texture” here simply refers to the slight patterns that are created with the thin application of layers-not a heavy skip-troweled type of texture! You should have 90-95% coverage after this layer. Allow to dry.

Step 6: Finally, blade on a tight skim coat of Chantilly Lace, completely filling in the entire design area and smoothing out the previous layers. Use a hard pressure to reveal the colors underneath. Allow to dry.

Step 7: When the applied layers of Lusterstone have completely dried, remove the Modello stencil. Carefully remove a small section first to see that it is dry and bonded enough to pull cleanly. Use a hair dryer again, if necessary. A weeding tool is used to remove “inside” sections that remain. Carefully slide just the tip of the tool underneath the edge of the Modello mask, taking care not to dig the tip into the surface.
Step 8: Use water and 400-grit wet/dry sandpaper to sand back through the Lusterstone slightly. This will smooth out the design (and background) and also help to reveal the colors and patterns underneath the Chantilly Lace layer further. Be careful not to sand too much and loose your pattern. Wipe clean with a terry towel. Let dry.

Step 9: To add protection, depth and a soft shine that will add to the illusion of inlaid marble or stone, use Liburon Neutral Wax to both seal and enrich the surface. The wax can be applied with a trowel and further smoothed into the surface with a piece of cheesecloth. After the wax has completely dried, buff with a soft cloth.
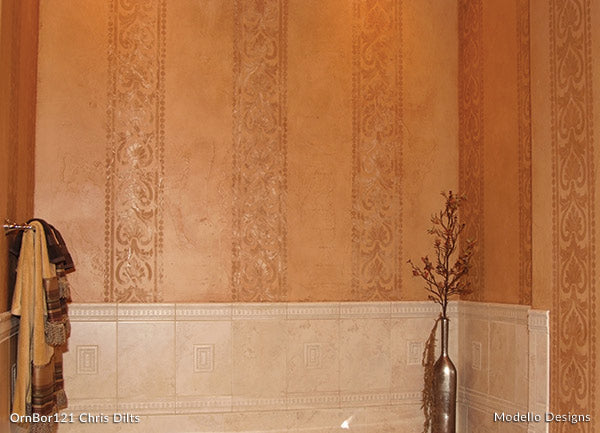
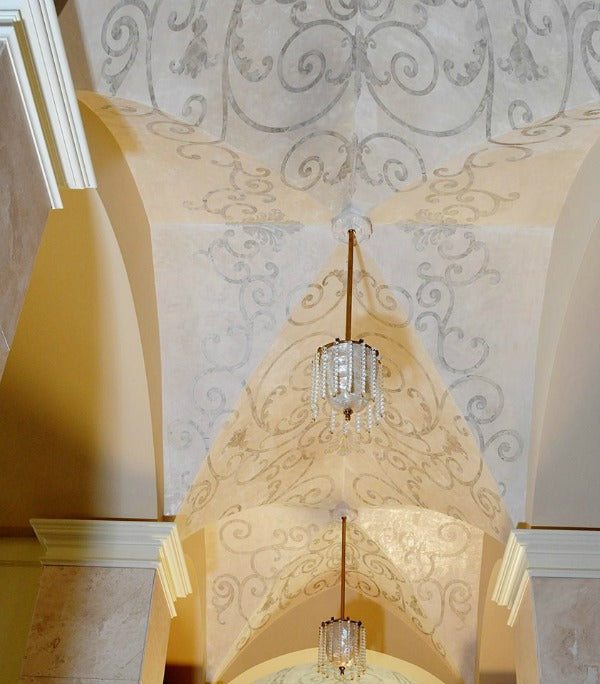
More inspiration: Chris Dilts and Gina Wolfrum did a beautiful job using this technique with our custom Modello Stencils below.