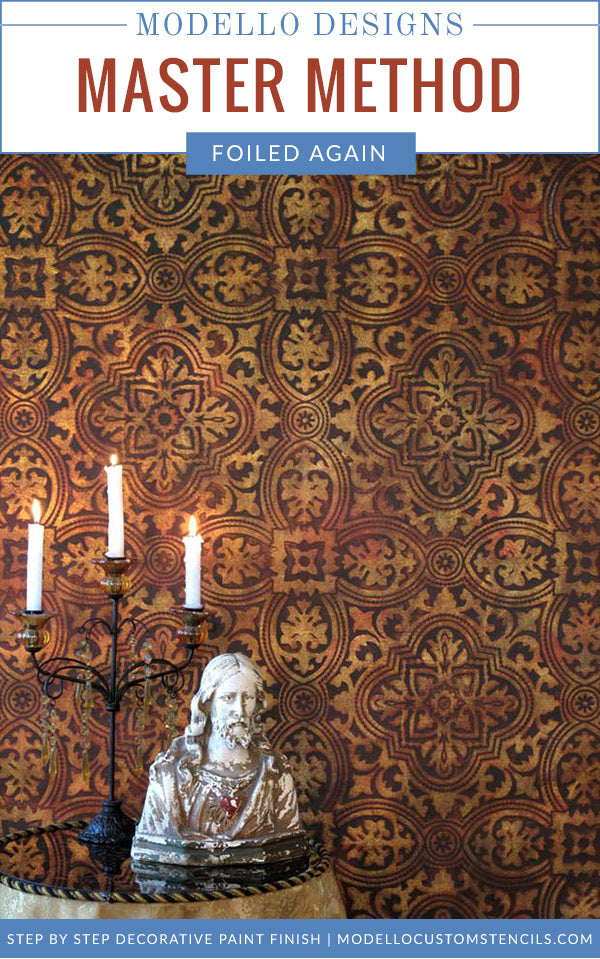
Metallic Foil Wallpaper Finish
- Lusterstone Ebony Frost
- Stain and Seal American Walnut, Rich Brown, Metallic Red, Antique Cherry
- Aquacreme/Mastercreme
- So Slow Super Extender
Tools and Materials: Order via Royal Design Studio Here
- Metallic Foils in Bronze, Antique Gold, Hologram Gold, Candy Apple Red
- Wundasize
- Velour Roller/Tray
- Small Nylon Scrub Brush
- Japanese Trowel
- Soft Rubber Trowel
“Slo Crème” Recipe:
- 3x Slo Crème/1x Aquacreme/Mastercreme
Basecoat: Dark Brown or Black
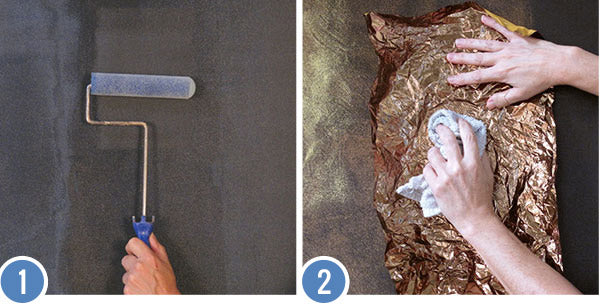
Step 1: Use a velour roller to roll on an even coat of Wundasize overall. Allow to dry for about a hour. Apply a second thin coat and allow the size to come “to tack”, approximately 20 minutes.
Step 2: Cut off 2’ lengths of each color of Metallic Foil. Crumple the foil pieces up and unfold. Place the foil randomly around your project area with the shiny side up and use a small nylon scrub brush to transfer the foil to the sized surface. Work with the brush using varying pressures and in a “hit or miss” manner to avoid transferring all the foil into one area. The idea is that all colors of foil used will be present throughout the surface. Also avoid brushing or pressing out to the selvedge edge of the foil to avoid transferring a hard line of foil there. Allow the size to dry, preferably overnight but for a minimum of a few hours.
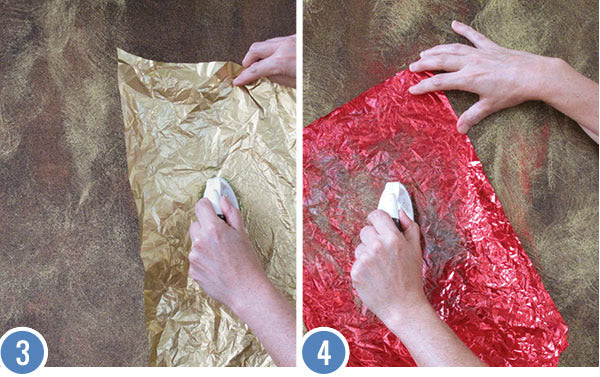
Step 3: Use the Antique Gold Metallic Foil next. Because the surface has already been partially covered with Bronze foil, be sure to press harder with your scrub brush to transfer the foil. Start light and check first, though, to see what kind of print you are getting.
Step 4: Apply some random areas of Candy Apply Red foil next.

Step 5: Finally, apply the Gold Hologram foil. This foil has dramatic color shifts that change according to light and direction. Go lightly with this as this foil transfers easily and intensly.
Step 6: Now apply another thin layer of Wundasize overall again. Allow it to "come to tack", approximately 20 minutes.
Step 7: Reapply an additional layer of Antique Gold foil overall to help fill in remaining open areas and calm the finish down slightly. Allow the entire finish to this point to dry overnight.
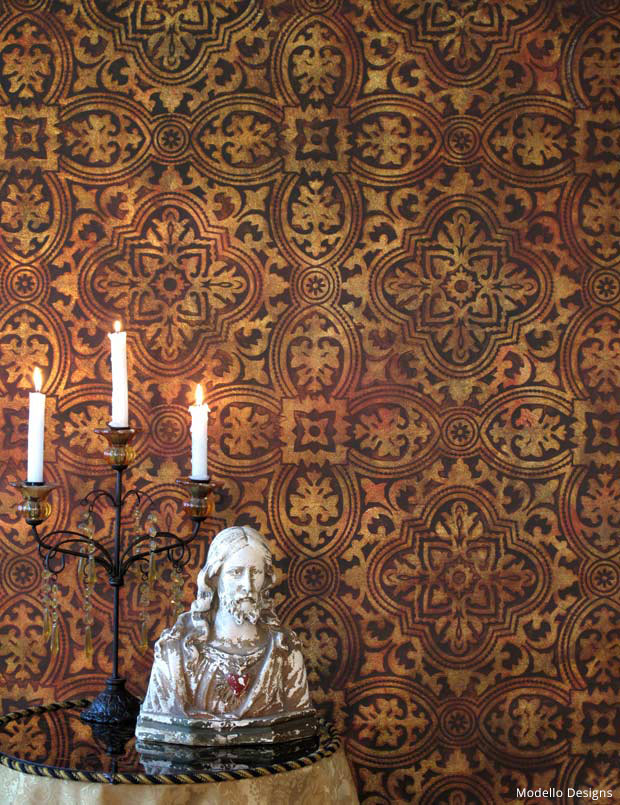
Step 8: Apply your Modello® stencil pattern. Double-load both the Ebony Frost and Espresso Lusterstone on a Japanese Trowel and apply this in a skip-trowel method over your surface. Notice that about 20% of the metallic foil background is left showing through.
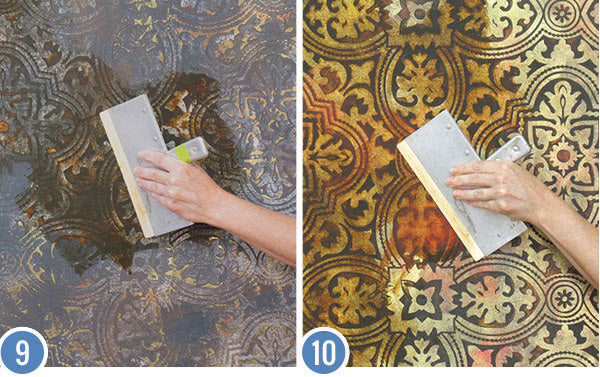
Step 9: Create a custom Stain and Seal color by mixing 2 parts American Walnut with 1 part Rich Brown. Mix this custom color 1:1 with Slo Creme (see recipe). Use a Soft Rubber Trowel to trowel this stain mix quickly and tightly, allowing it to pool around the edges of the pattern. Spritz the surface and/or stain as you go to help it keep wet and workable. Allow to dry.
Step 10: Remove the Modello® stencil pattern. Create a second custom Stain and Seal color by combining 2 parts Metallic Red and 1 part Antique Cherry. Mix this custom color 1:1 with Slo Creme. Apply this stain layer the same way that you did in Step 9, working in some additional American Walnut/Rich Brown color as you go, and as desired.
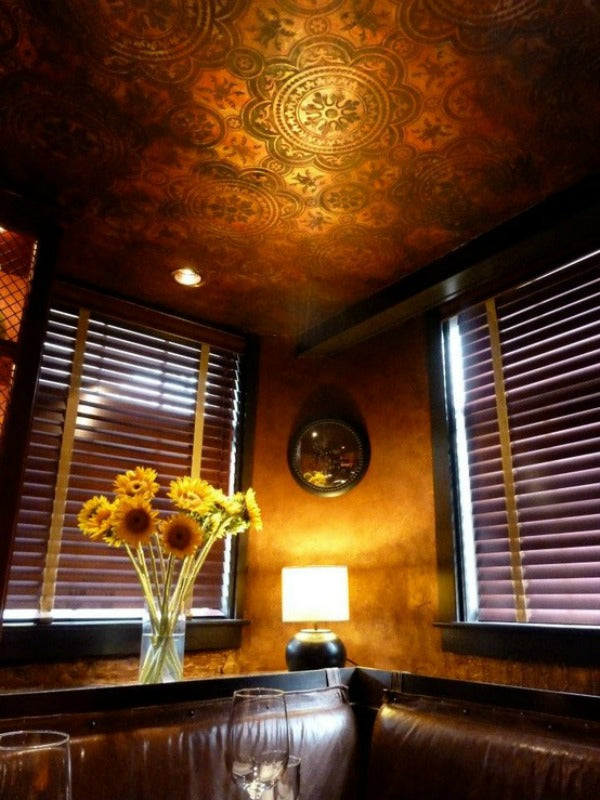
More inspiration: Evita Caune followed the above steps to create this gorgeous, rich finish on a ceiling. Be sure to check out all of our Allover Stencil patterns to find the perfect design for your project.
